Welcome to part 2 of this series where I try and repair my first ZX Spectrum.
So far, we’ve installed the Composite Mod and managed to get it boot, but not been able to get much else due to a broken keyboard membrane
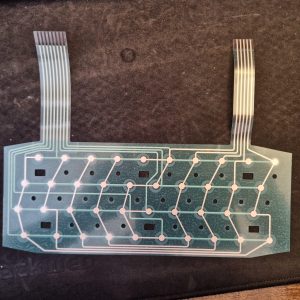
Well that finally arrived today – and here it is:
(Excuse the dirty mat underneath – I really should clean that some day)
This came from ZX Renew and is about £8 + P&P so not bad really
Installing is a bit tricky – the first task was to remove the face plate – being careful not to bend it too much
Once done, it was time to clean off all the glue and give the rubber key mat a good wash and a scrub to get rid of the 40+ years worth of grime that had built up – lovely!
And whilst they are drying all that was needed was to slide out the old and knackered membrane and put the new one in its place.
Super easy – so easy in fact I forgot to take pictures – ah well!
Anyway with that in place and the mat dried and put back on it was time to stick the faceplate back on – some double sided tape should do the trick here
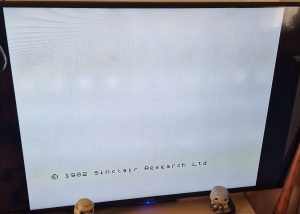
And here we go – I powered it on and was able to type out the first line of a program

Lovely, ok lets press enter and get the next line in..
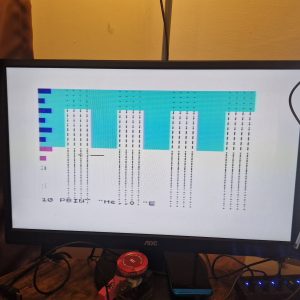
Oh dear.. that isn’t supposed to happen..
This doesn’t look good at all – time for some more trouble shooting.
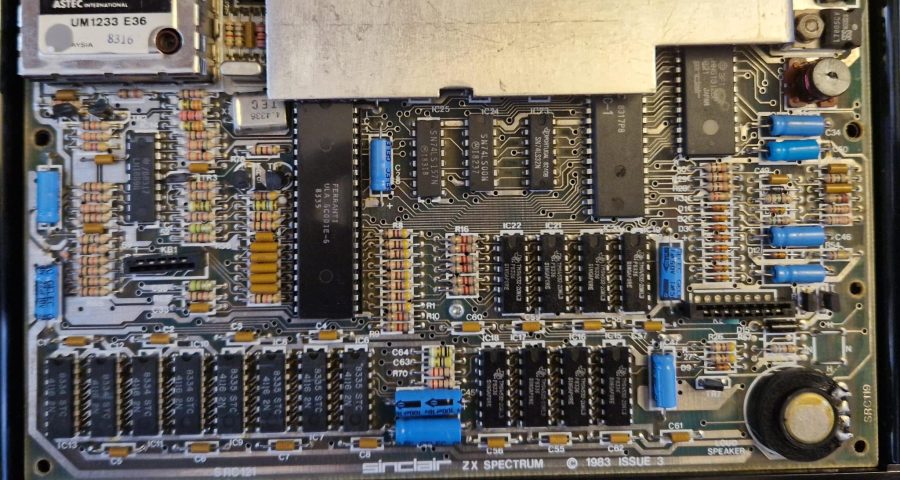
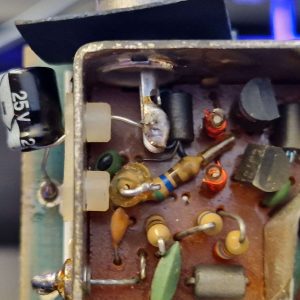
First up the 7805 voltage regulator – this should read 12V on the left leg, and 5V on the right leg
Results: 10.2V on the left and 5 on the right – that looks good to me – next – the voltage pins on the lower ram modules
The pins we are interested in are the 4 corner pins and should read -5V on the top left, 0V on the Top Right, 5V on the bottom right and 12V on the bottom left
And here we have a couple of problems
I was reading 0V on the -5V pins, and 9.5V on the 12V pins
I reached out on the MFMI Discord server and was told that the chances are that TR4 or TR5 are a goner
So, I’ve ordered one of each and will probably just replace both of them and report back when done
Thanks to Royal Mail – this will take a few days so see you then!