I’ve enjoyed playing with the old speccy again, but whilst I can easily load up games using an Android app called PlayZX, what I couldn’t do was save anything – either a games progress, or more specifically, any BASIC program I had written.
That was until I had a brainwave and thought about Audacity, and whilst I did record the tones, they wouldn’t load back into the device
I even installed a second sound card and connected that directly to the MIC and EAR jacks on the back of my 48K – but had the same issue
After a bit of research I found a reference stating that the signal that my PC was receiving was way too low for the spectrum to “hear” when played back. I had a look around Audacity and found that there was an “Amplify” function that, when I applied, certainly increased the tones.
Playing it back this time, I noticed a change straight away, in that I could now hear the squawks and squeals of data being loaded in, and sure enough the program was found and loaded in
So, for those who want to know how I did it – then read on.
What you’ll need:
- A ZX Spectrum – duh!
- Preferably the Ear & Mic leads that came with a spectrum – but suitable alternatives should be fine
- A suitable PC (Running Windows or Linux) or a Mac
- A Sound Card that has either a “Line In” or “Microphone” port
- A copy of Audacity – (Download here)
Wiring the Spectrum up for audio
This is fairly simple
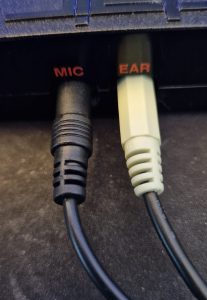 Plug each cable into the back of the spectrum and into the sound card, making sure the cable in the “EAR” socket goes into the headphone socket on the sound card, and the “Mic” lead into either the Line In or Microphone jack on the soundcard
In this case the green (yes it is green) cable will go to the headphone socket on the soundcard, and the black one to the Line In / Mic socket
And that is all there is to it – just like you would have done way back then but to a tape cassette
Configuring Audacity
Now that we’re all setup on the hardware side, it’s time to get Audacity ready.
Firstly install it if you haven’t already then, once done, come back here
Ready? Good
With Audacity open, we need to ensure we have the Device toolbar showing – this can be found under the View> Toolbars menu and selecting the “Device Toolbar” option.
Now, your options may be different to mine, but essentially the 4 drop down boxes should look something like this:

- Windows DirectSound
- The Line In or Microphone from your soundcard
- 1 (Mono) Recording Channel – Not Stereo as the ZX Spectrum is Mono only
- The appropriate speaker for your soundcard
And that should be it – you may find you need to play with the volume sliders above but that will vary for everyone
Our Test Program
For this test I am just going to use a the basic BASIC program that has only 2 lines

This is all we need to be able to send some data
Saving
Now, for the interesting bit.
On the Spectrum type SAVE (by pressing S) then in double quotes (SYMBOL SHIFT + P) the name of the program, eg SAVE “test1”
And press enter, you should now get this prompt:

Don’t press anything yet!
First go back to Audacity and press the Record button THEN you can press any key on the spectrum
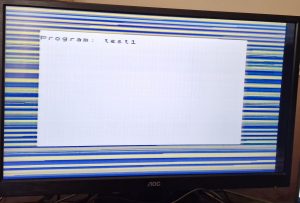
All being well, you should see the familiar CYAN and RED bars scrolling in the border, and a brief YELLOW and BLUE before returning with this message:

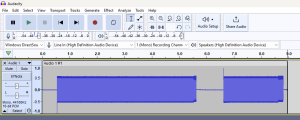
In Audacity you should now see what looks like a straight line – but all being well – that line should contain some data… For now, just click the STOP button to stop the recording
Editing
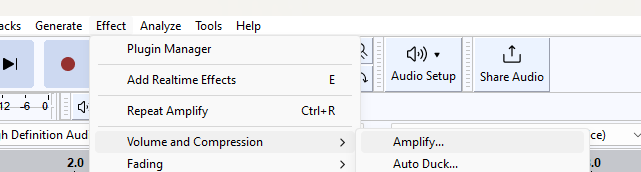
In order for the Speccy to read the data that we have just recorded in Audacity we will need to amplify the recording.
To do this we need to select the recording by clicking the “Select” button to the left of the recording
Then use the menu at the top to select “Effect” > “Volume and Compression” > “Amplify…”
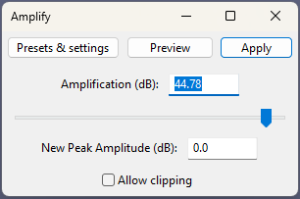
Which should then open a small dialog box. Simply click “Apply” here
Now in Audacity, our line should look something like this:
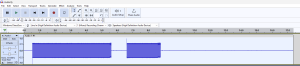
All that’s left to do is to trim the end off – so just use your mouse and, just after the end of the recording left click and drag to the end – then press delete to delete that “tail” to leave something like this
You can do the same at the start if you have a line that is longer than, say 0.5 seconds – it should look similar to the image above
And that is it! All being well, then this should be ready to load back into the spectrum.
Loading
So, to load it, reset the spectrum by either turning it off then on – or pressing the “N” key to display “NEW” then pressing enter
Once done, press the J key for “LOAD” and then SYMBOL SHIFT+P twice for two quotes
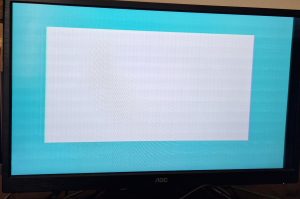
Then press enter – the screen will go white as it is waiting for you to press play – so in Audacity – press the play button
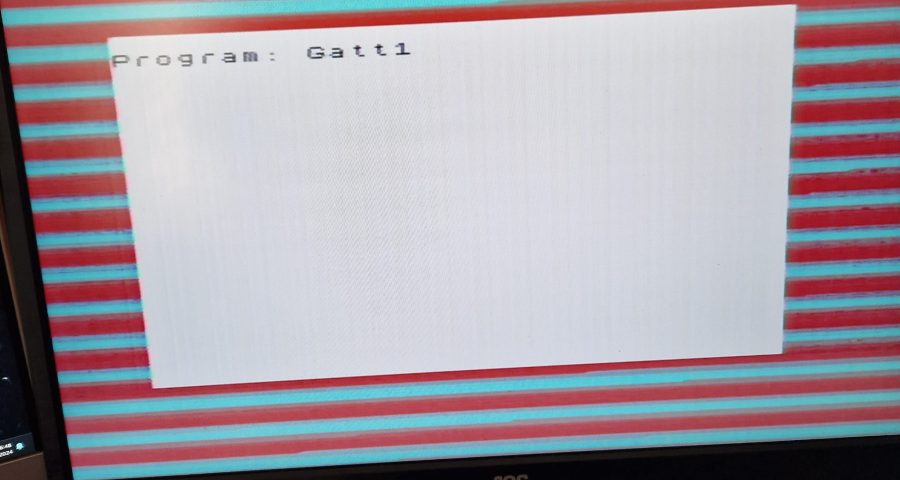
And now the moment of truth – all being well it should do this
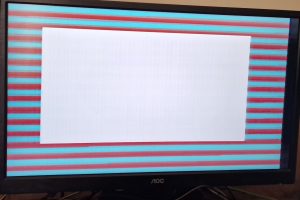
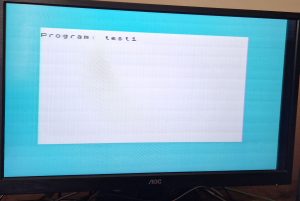
Now, if you press K for LIST – your program should be back on screen and ready to RUN:
Enjoy and have fun!
Leave a Reply